Interference fit connections are key in mechanical assembly, with component quality directly affecting performance under axial and impact loads.
Assembly quality depends on component errors, techniques, and precision; excessive pressure can cause residual forces, wear, and reduced stability.
Aerospace, automotive manufacturing, and precision instrument industries widely use stainless steel.
Stainless steel’s hardness, elasticity, and thermal expansion cause stress, deformation, and dimensional changes, complicating assembly.
Thin-walled stainless steel parts may deform or fracture under excessive or uneven interference-fit forces.
High-precision mating surfaces of thin-walled parts mean even minor deformations can impact assembly quality and performance.
Analyzing interference fitting for thin-walled stainless steel parts enhances assembly precision, reliability, and supports mechanical manufacturing.
Analysis of the interference press-fit process
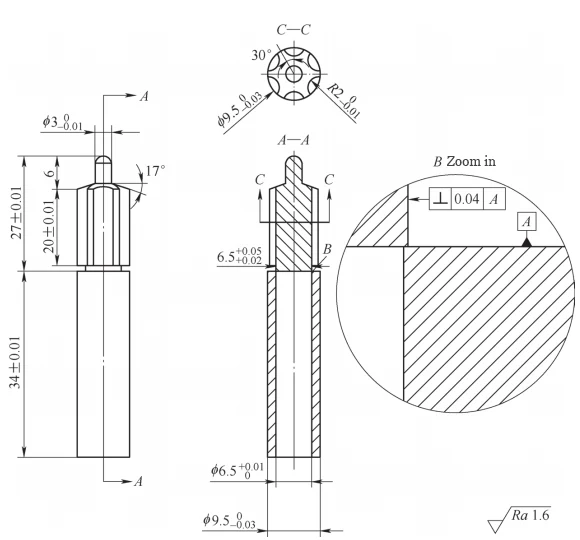
Figure 1 shows a non-standard part whose tool neck and handle must fit tightly in the stainless steel cylinder to ensure even coating.
During use, the stainless steel thin-walled cylinder experiences significant wear. Engineers typically use the press-fitting process to ensure interchangeability.
The ratchet end press-fits the 1.5 mm stainless steel cylinder, forming a 1 mm interference fit.
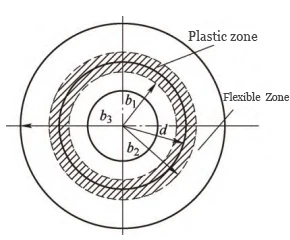
During interference fitting, the ratchet end experiences pressure F; once it exceeds Fe, the cylinder surface plastically deforms outward until full contact is achieved.
Figure 2 shows the elastoplastic zone, with b1 ≤ r ≤ b2 as the plastic region; thinner walls enlarge the deformation zone.
During the pressing process of this part, there is no effective detection method, so the surface quality of the part can only be inspected after pressing.
Finite element analysis simulates local stress and identifies plastic deformation sites during thin-walled part interference fitting, aiding yield improvement.
Finite Element Analysis of Interference Fitting
Establishing the Press-Fitting Process Model
Engineers model only the ratchet-end contact parts and constrain other parts’ positions for faster finite element analysis (Figure 3).
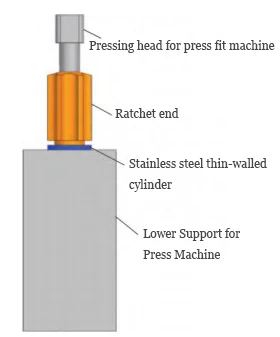
During press-fitting, the machine applies a 300–450 N downward force to the ratchet end with 1 mm displacement and 0.01 mm interference.
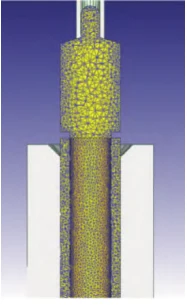
Engineers assign AISI-304 material to the ratchet end and cylinder, set 0.2 Coulomb friction, and create 120,000 mesh elements (Figure 4).
The simplified model is imported into finite element simulation software for calculation, with 40 steps (step size) and a calculation time of 4 hours.
Post-processing of simulation results
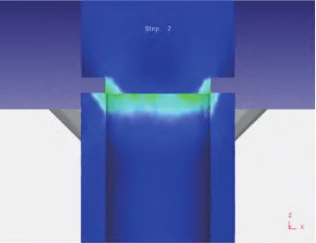
Post-processing shows that a -Z force on the ratchet end causes stress concentration at its contact with the cylinder (Figure 5).
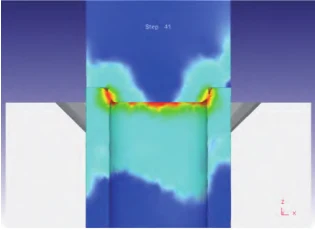
Pressing the end deforms the ratchet–cylinder contact and outer elastic region, causing stress issues and poor surface quality.
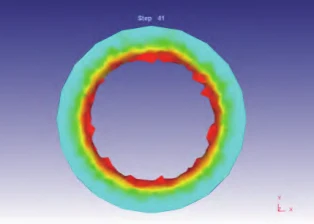
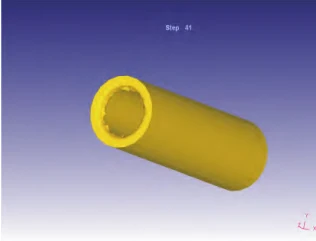
Figures 6–8 show stress distribution, plastic deformation at the contact surface, and the cylinder’s state after pressing.
Product Structure Optimization
Simulation shows excessive stress at the ratchet–cylinder contact, causing significant plastic deformation.
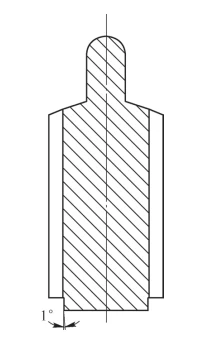
Engineers modify the protrusion shape with a 2° taper (Figure 9) to guide the ratchet end, delay plastic deformation, and improve yield.
Post-processing of the product
Finite element analysis of the optimized model shows that a -Z force on the ratchet end does not cause plastic deformation at the contact surface.
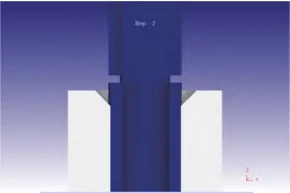
The pressure distribution at the start of the optimized press fit is shown in Figure 10.
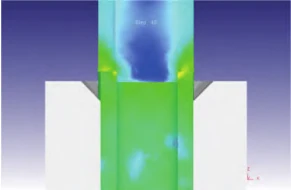
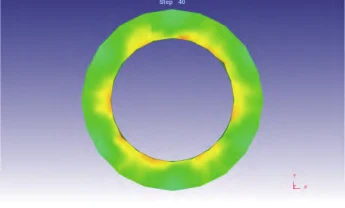
Pressing the end causes minor plastic deformation at the ratchet–cylinder contact, reducing stress and ensuring good surface quality.
Figures 11–13 show stress distribution, plastic deformation, and cylinder state after optimized pressing.

Experimental verification
Engineers remade and pressed the part; the cylinder surface showed no curling (Figure 14).
Engineers pressed cylinders of other materials using the same method, showing no obvious defects (Figure 15).


Conclusion
In summary, finite element analysis identified plastic deformation sites in non-standard parts, and optimizations improved yield.
This method guides assembly process optimization for non-standard parts, improving quality and reducing costs.
